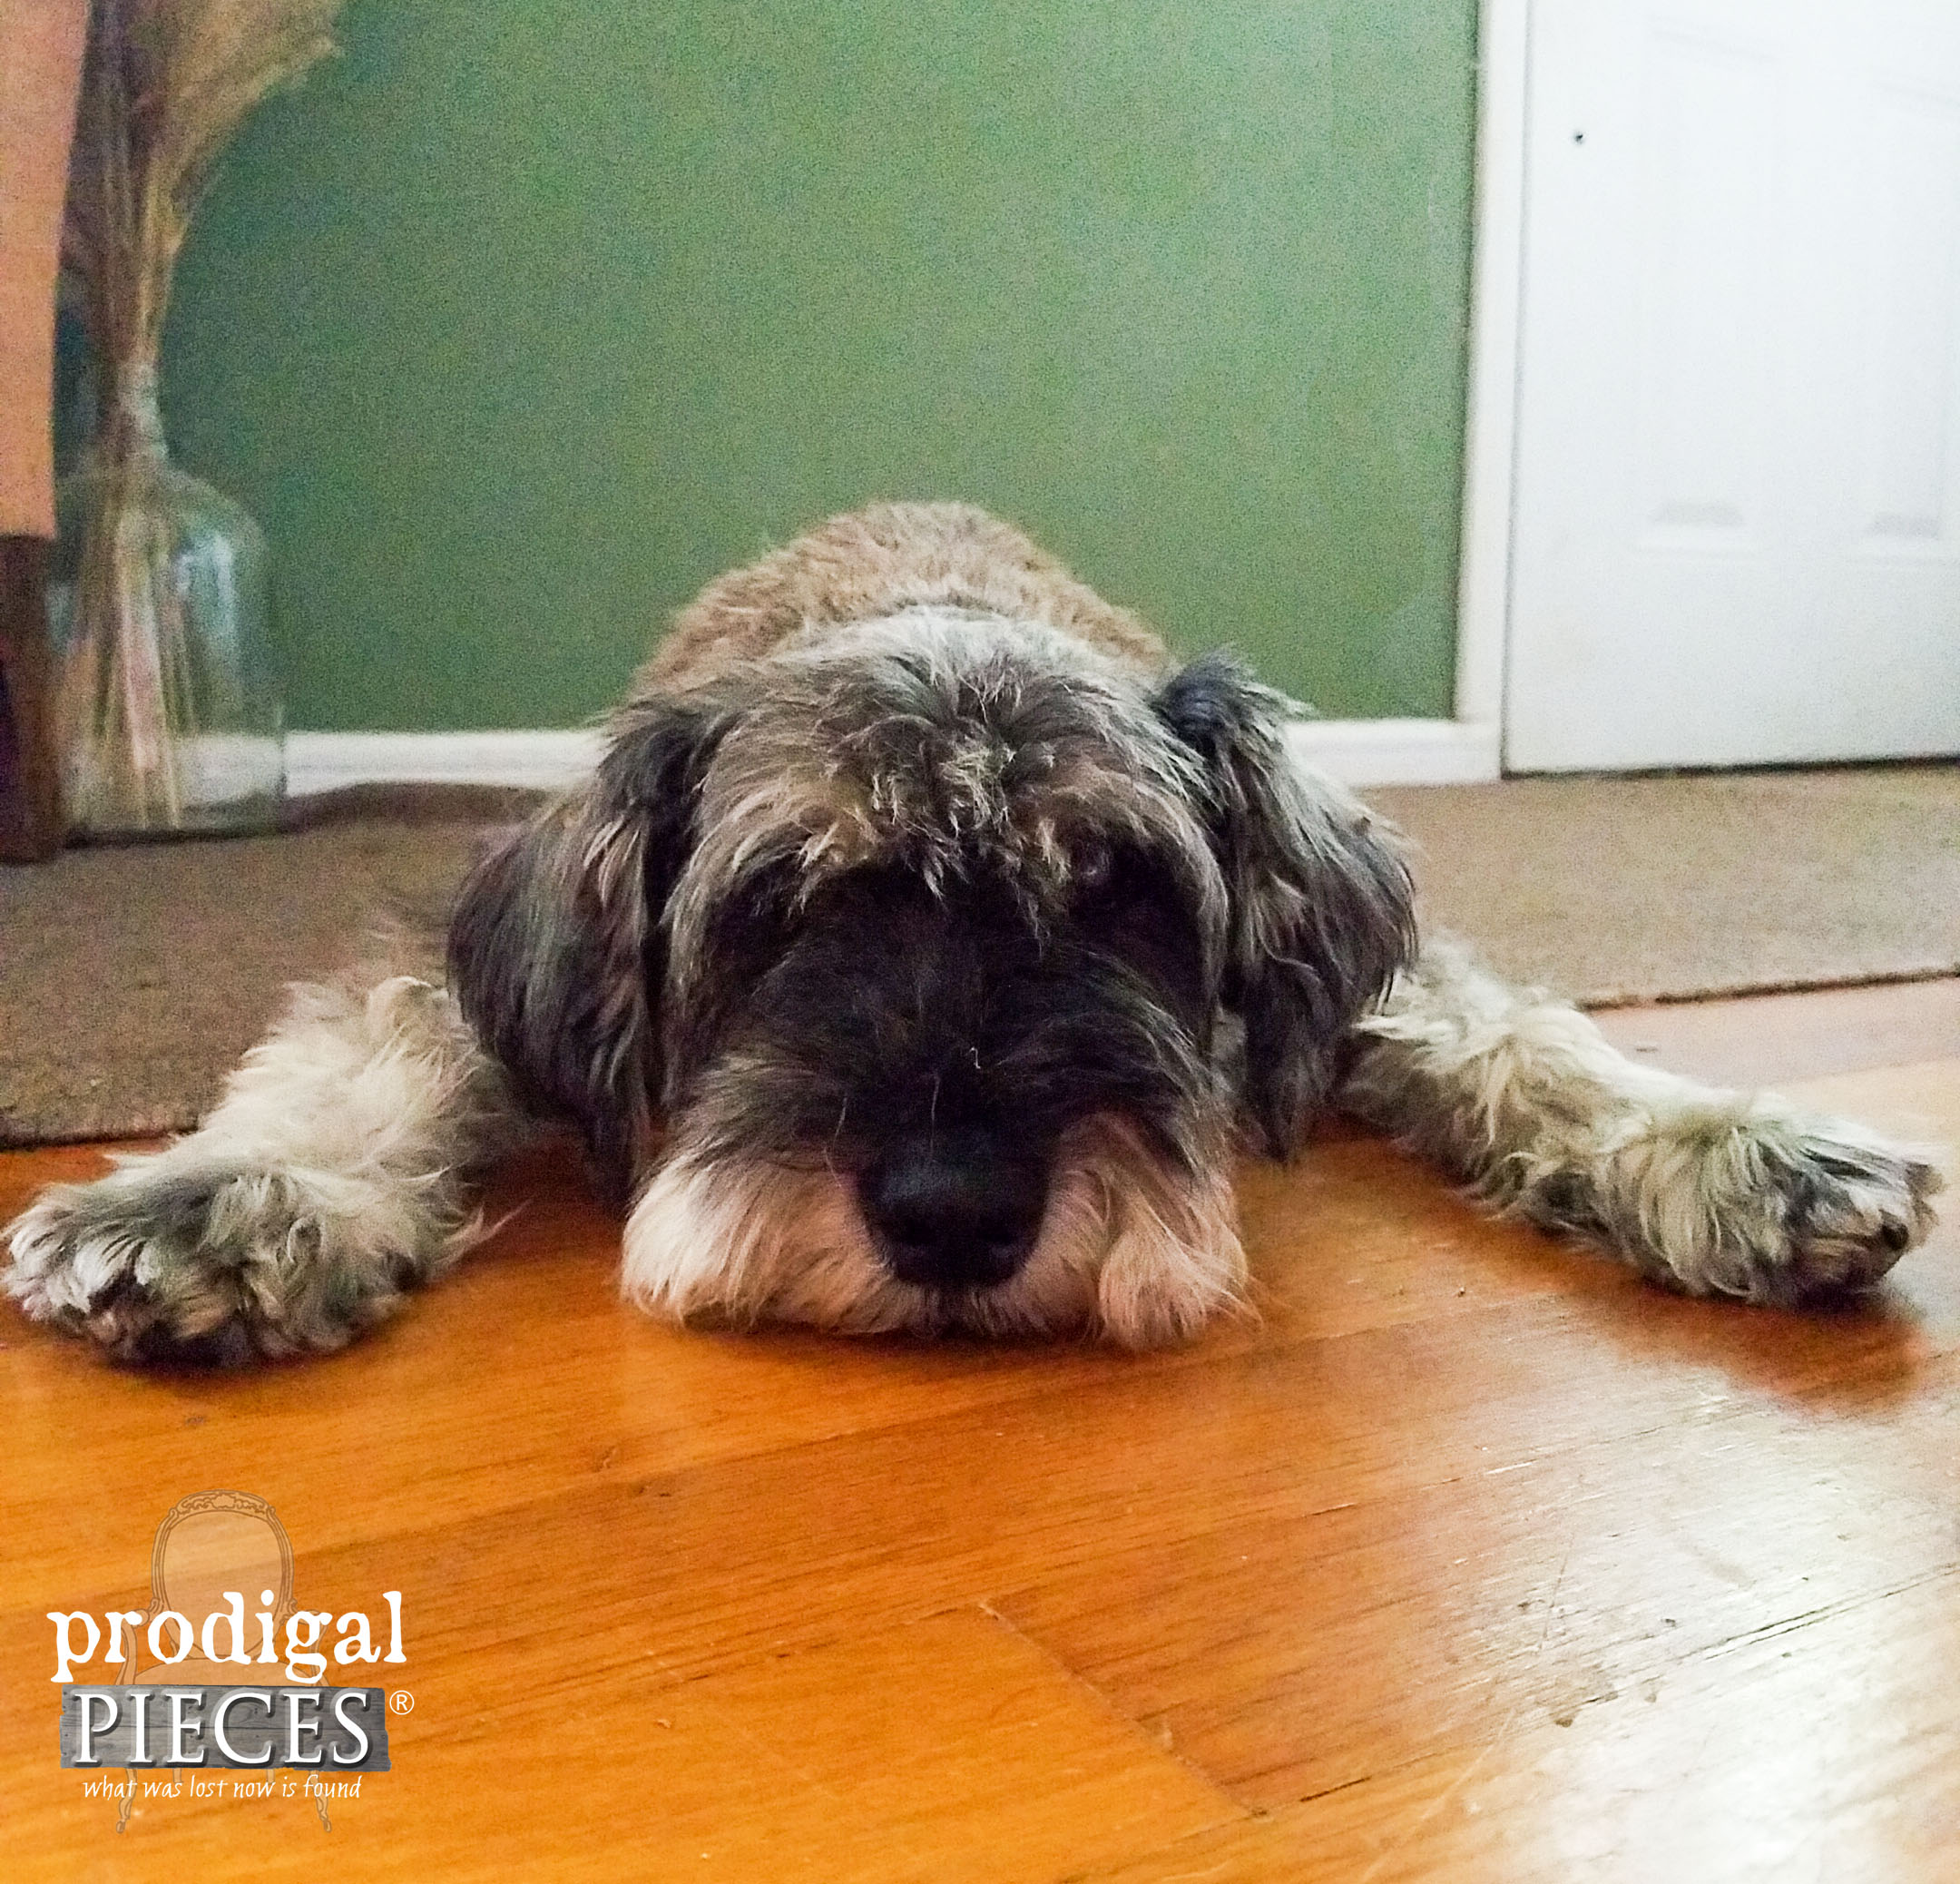
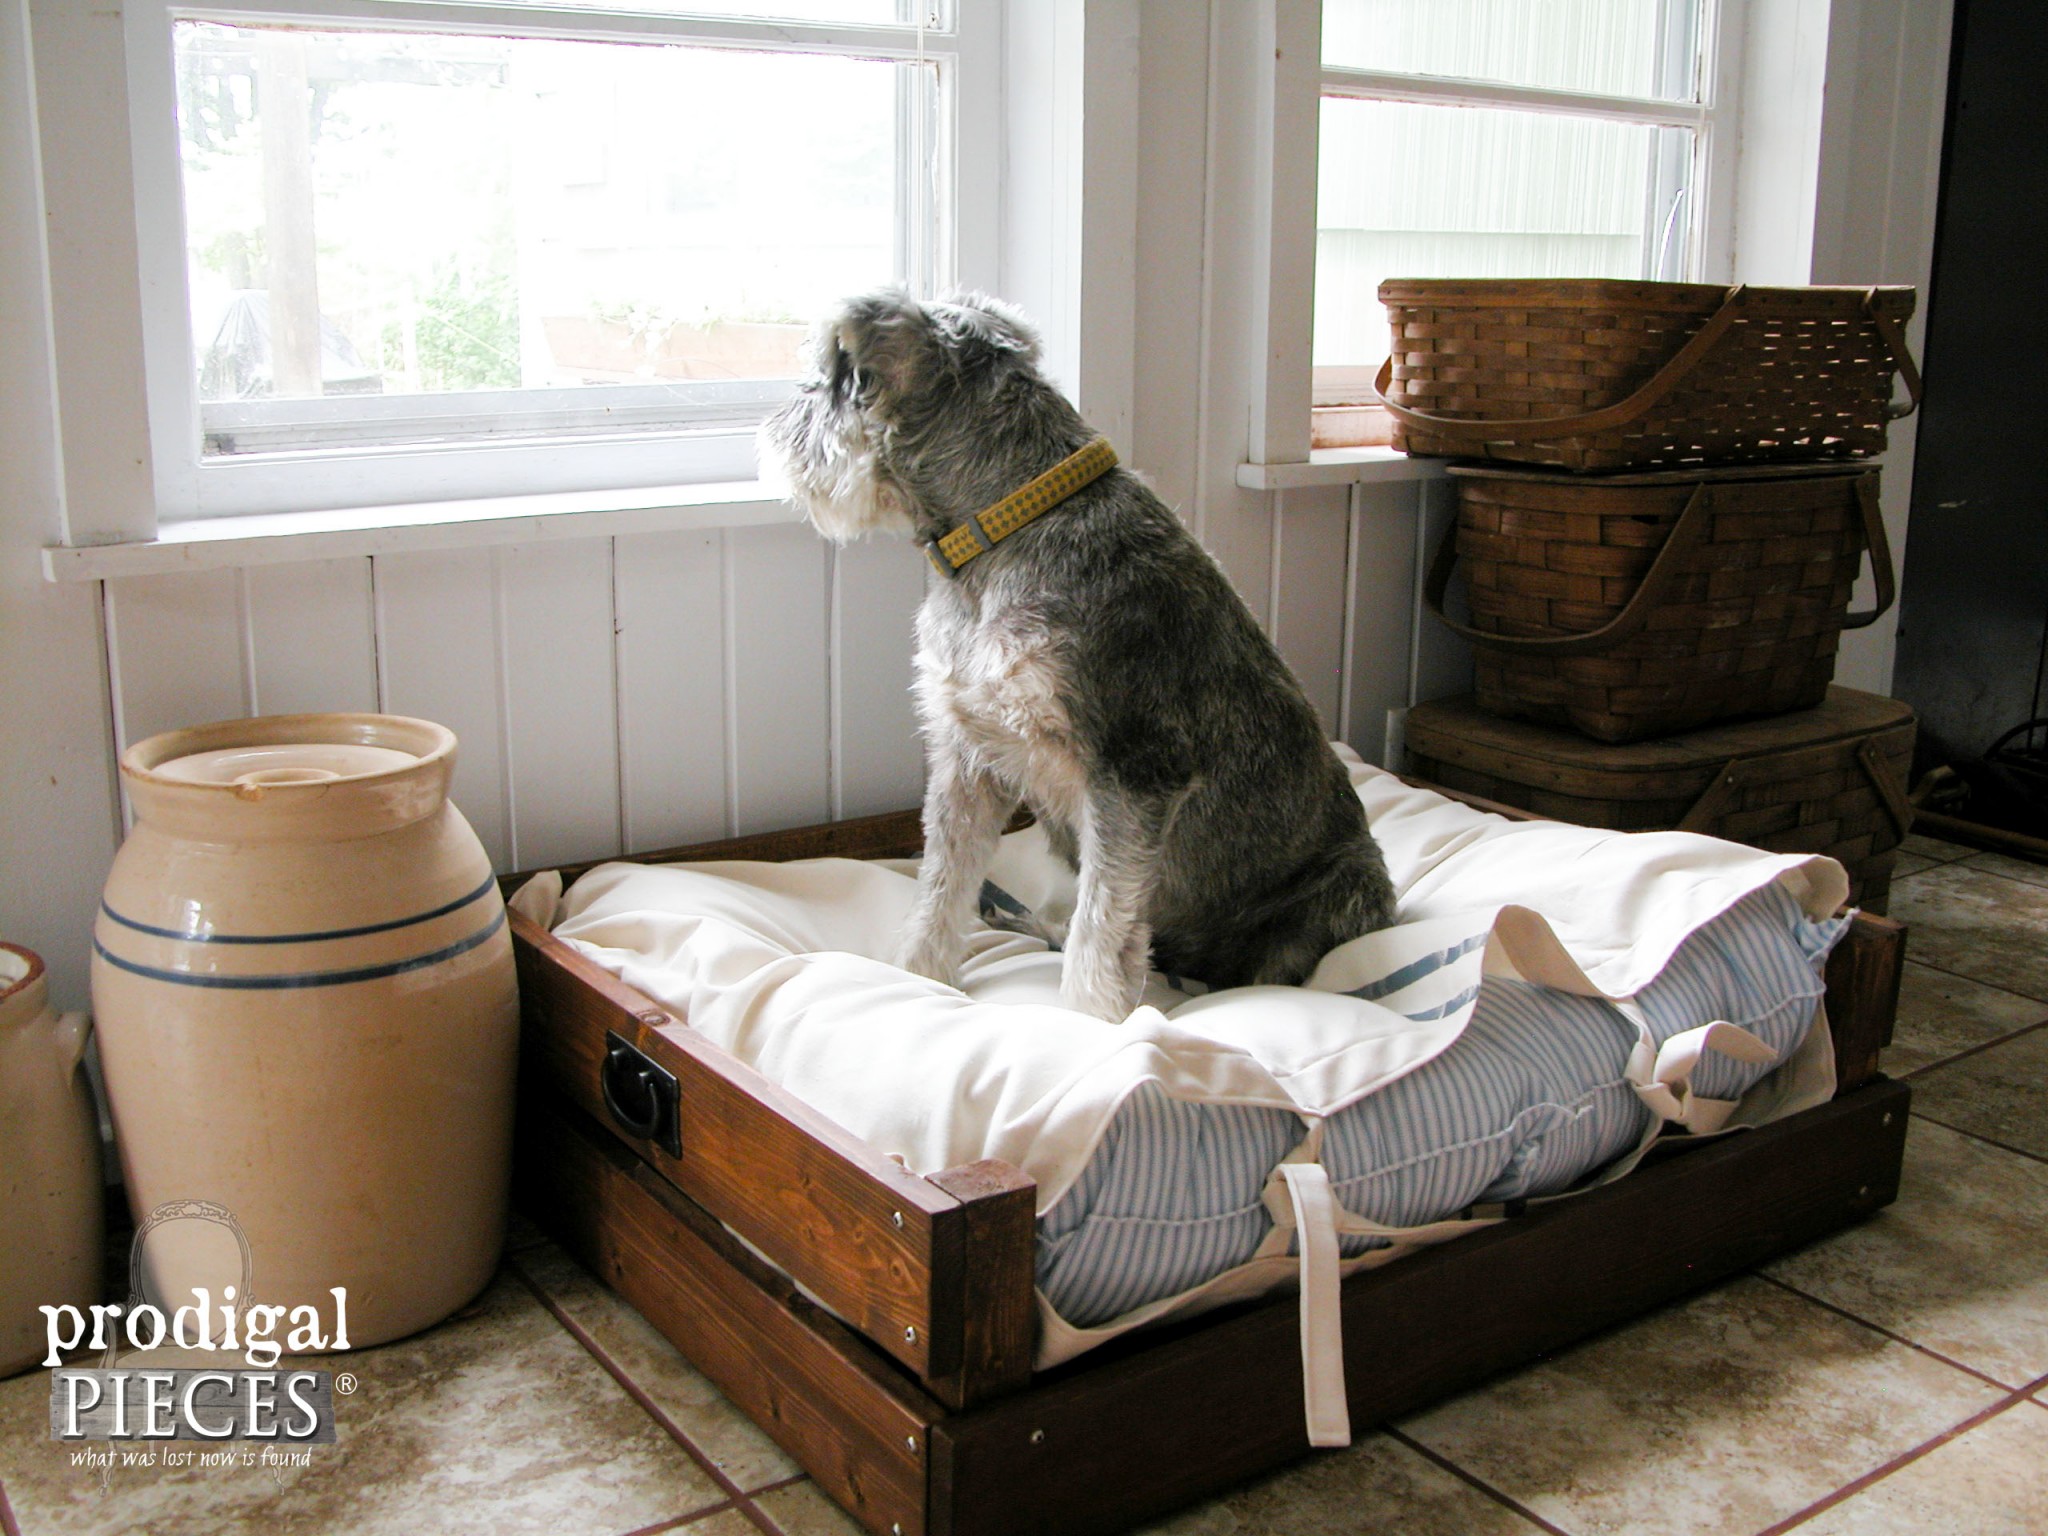
Our family consists of many members, and some of them just happen to have fur. We bring home our beloved furballs and want to give them the best. Because of that, I have created a pet bed that will surely let your cuddle bug know they are loved. Meet Teddy (aka Ted E. Bear).
We adopted Teddy when he was 1 ½ years old, since the previous owner had an illness that meant she could no longer care for him as needed. He as been such a loyal, lovable dog. He resides with us 24/7 and is our alarm-barking nut at 9 years of age. Teddy already has a cozy den that he sneaks into where he sleeps, but he is getting older. I wanted to create a snuggly pet bed where he can be with us all the time.
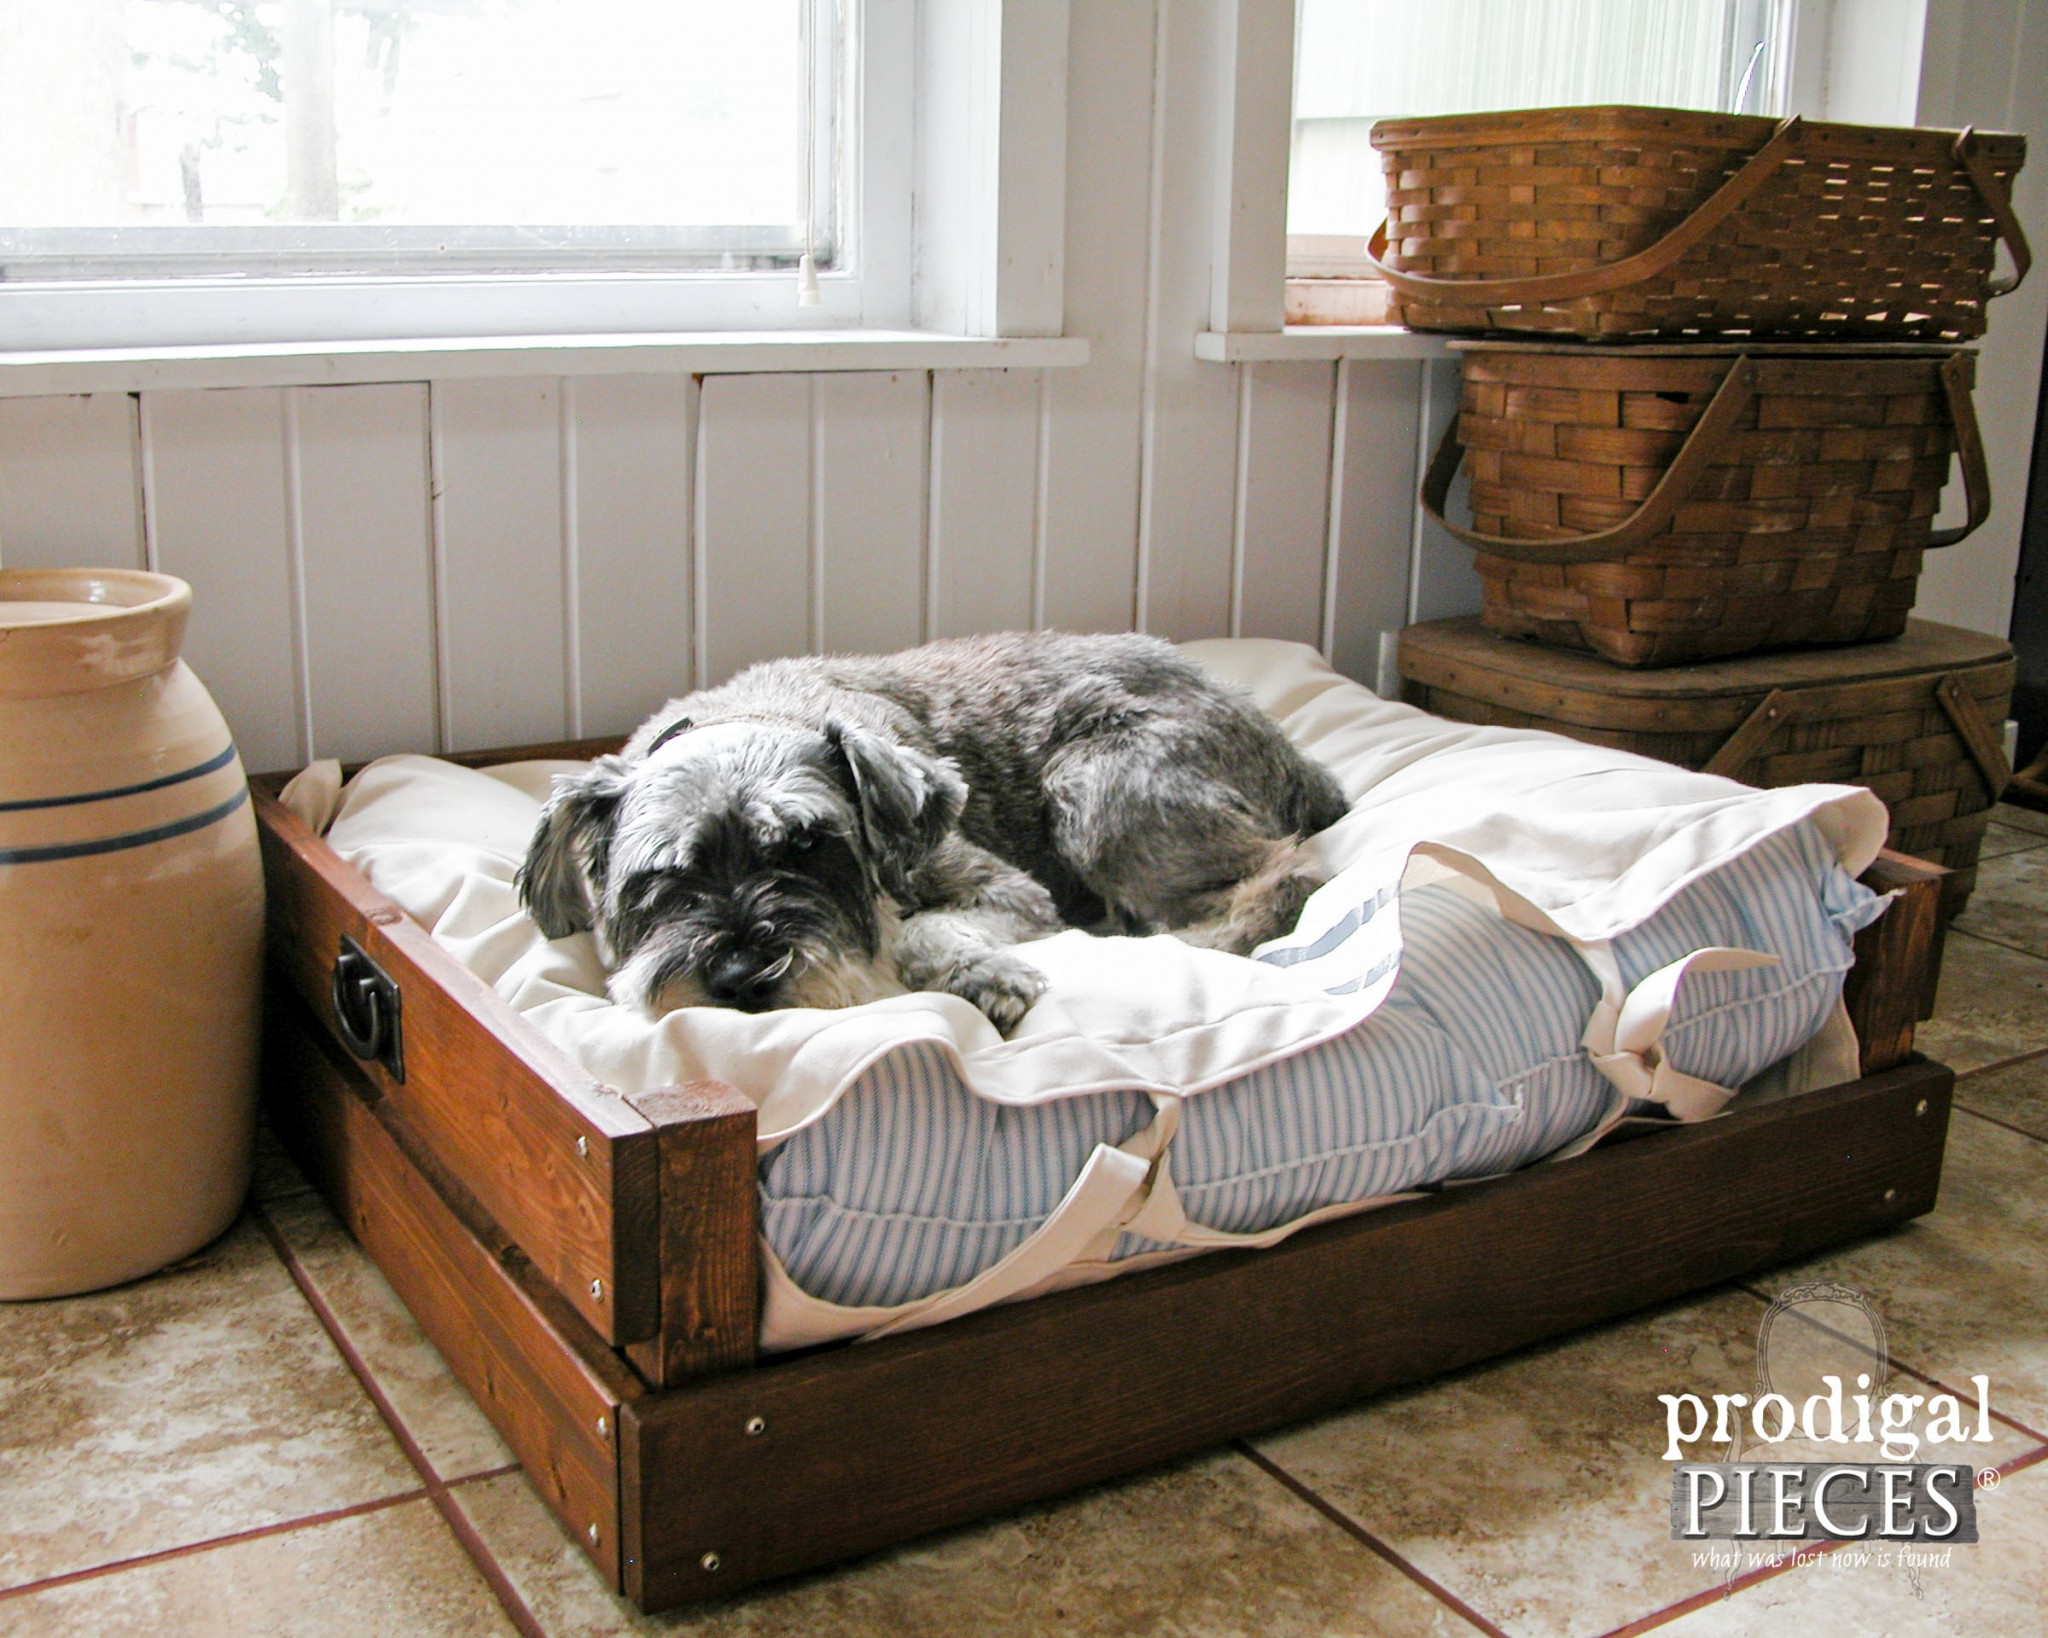
Once I built his bed, there was no coercing him to get into it.
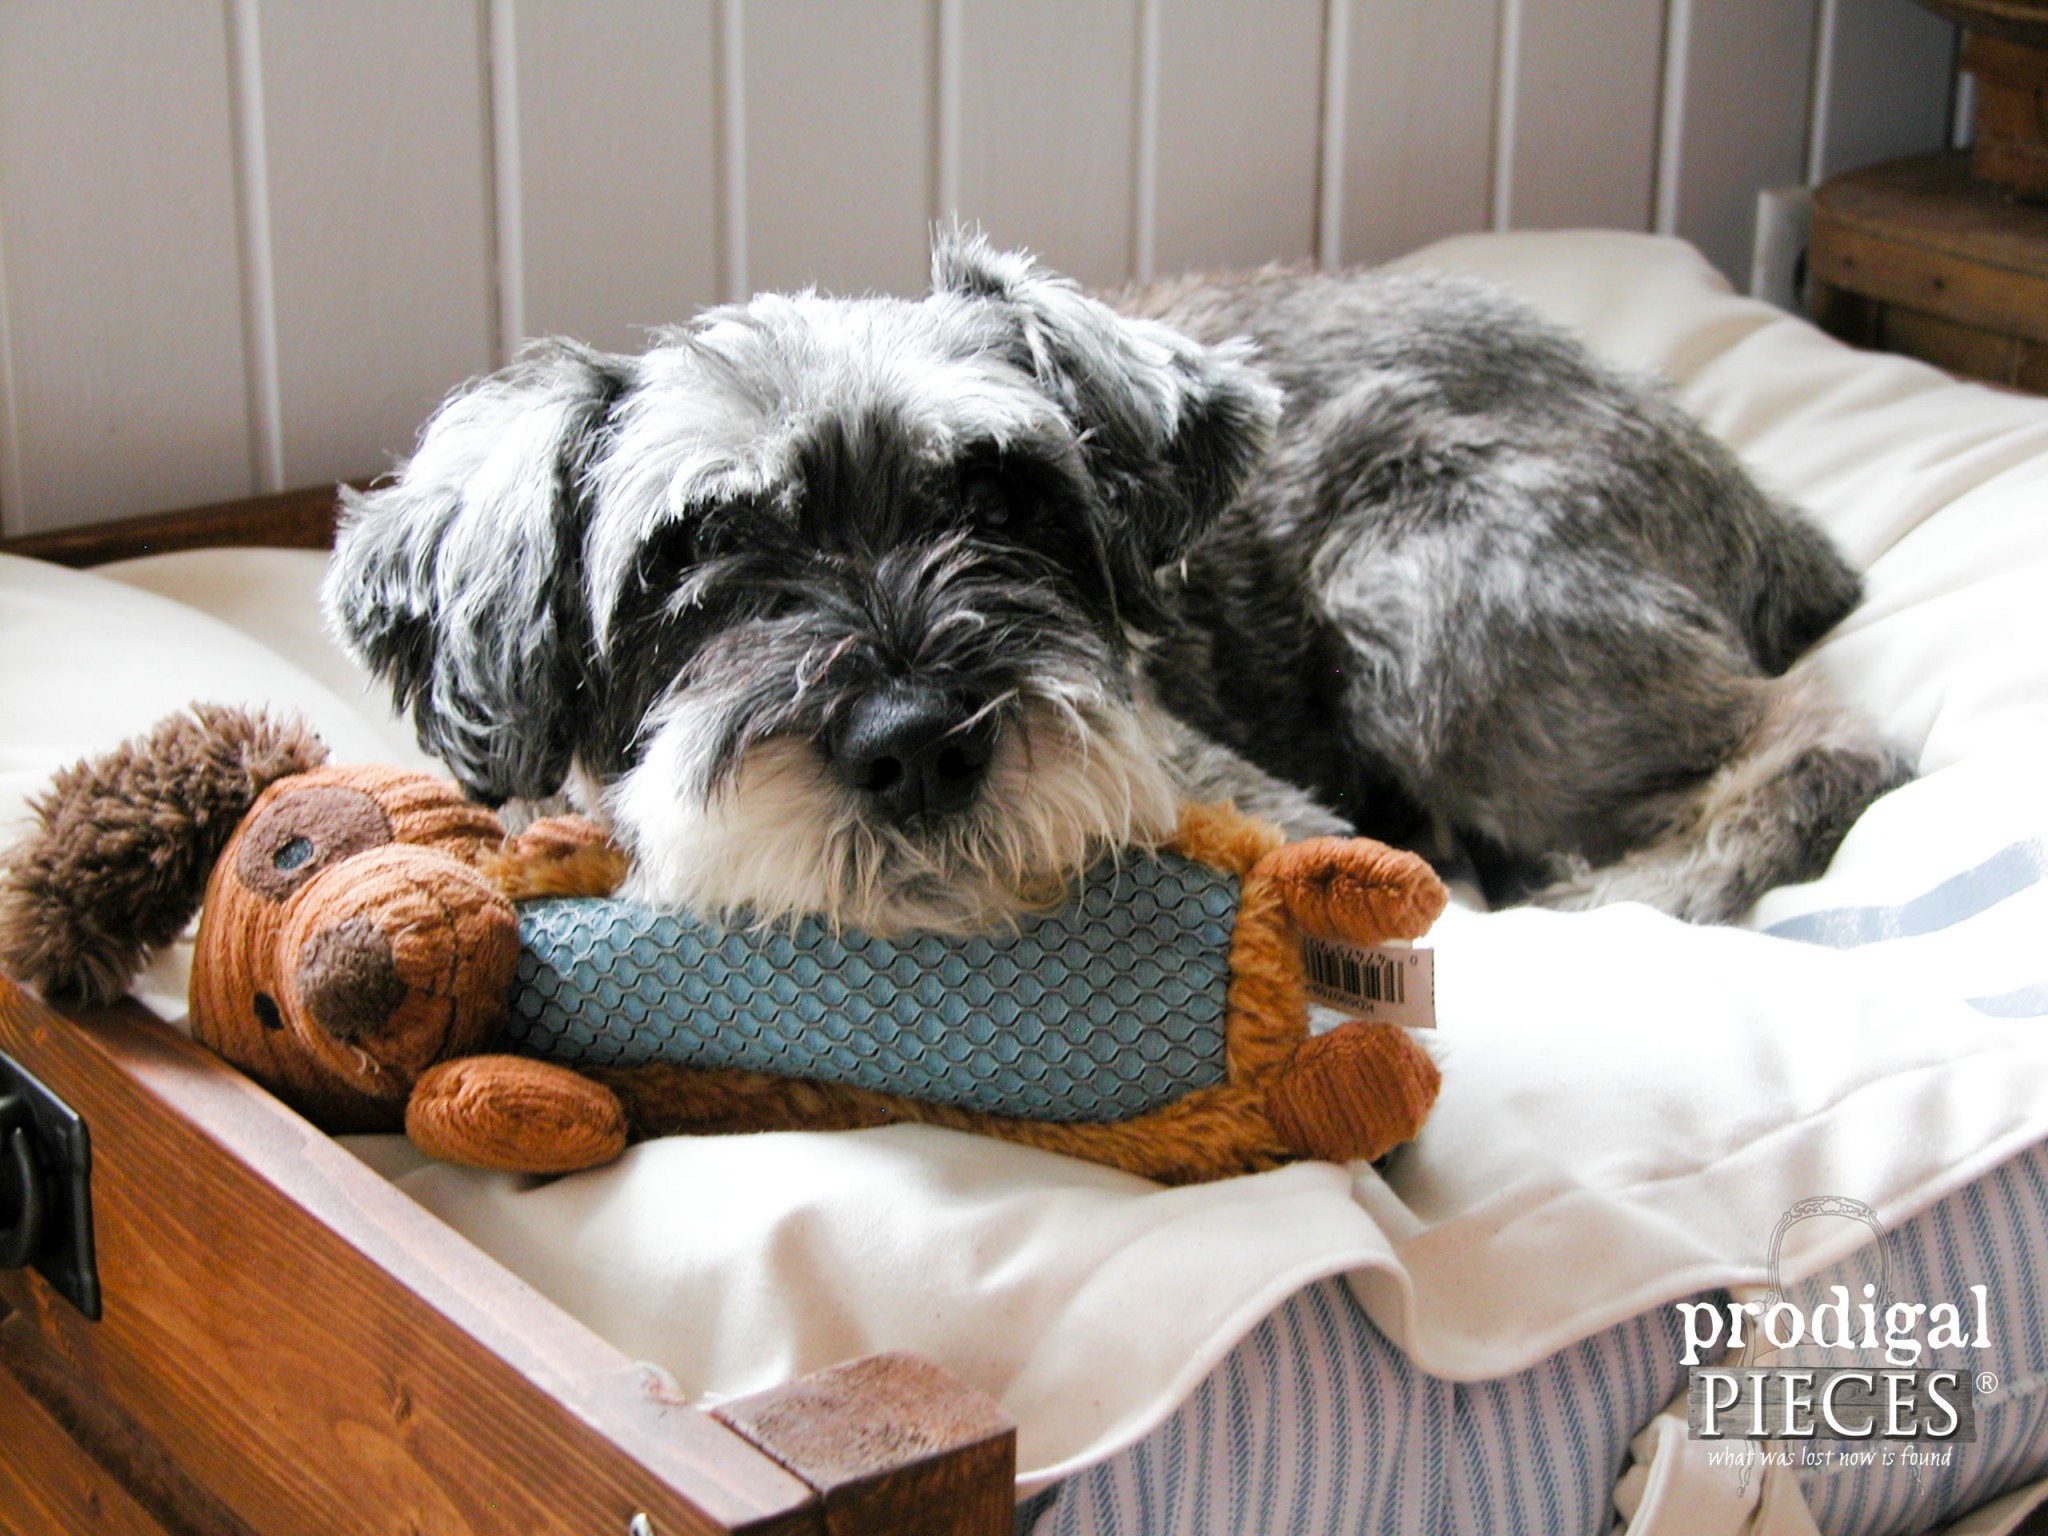
He looks so content…I want one. hee hee hee.
DIY TIME
This is an easy build that can be done in a day with a few basic tools and supplies and is absolutely budget-friendly. You can build this for less than $30, including the cushion (see below for details). Not only is this affordable, but the best part is that it can be custom fit for any size cat or dog.
In addition, be sure to pin and share this so you can have it handy for future, and your friends will love you for sharing. ♥
Now, you’ve got your pet bed made and want to create a custom cushion, right?
Here’s how you do it (personal use only):
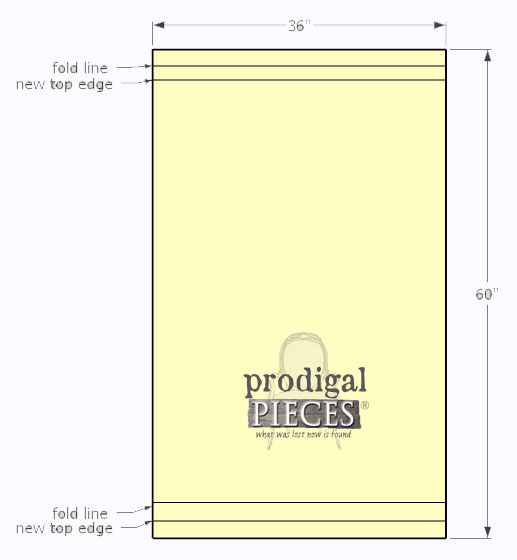
Materials
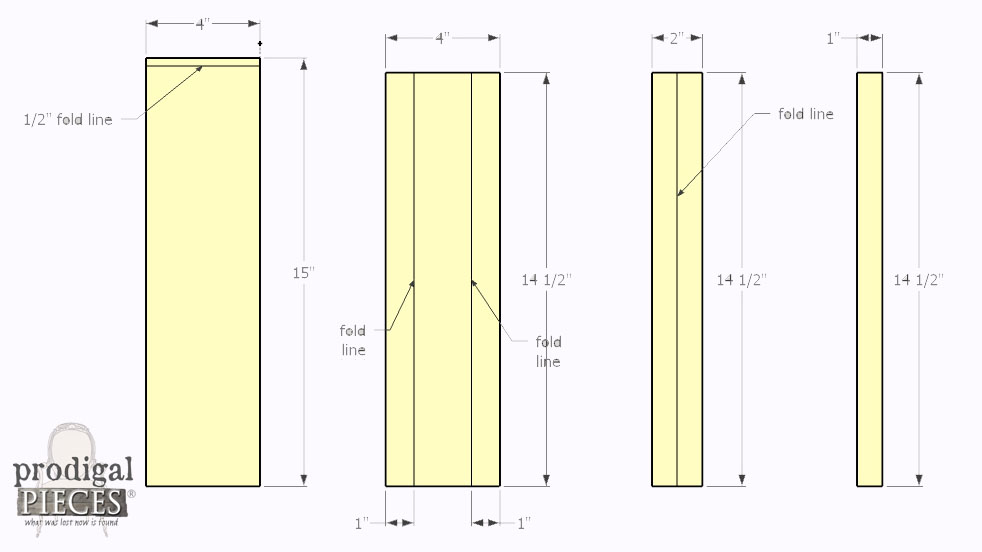
- 1 yard of 60″ wide fabric (or equivalent), PLUS 4 – 4″ x 15″ strips for ties.
- white thread
- 2 standard bed pillows
- fabric paint (optional) See tip below.
- masking tape (optional)
Tools:
- sewing machine
- iron / ironing board
- sewing pins
- sewing scissors
- round foam brush
- tape measure
For the purpose of cuteness and longevity, I use a cotton twill for my pillow case, but you can use whatever fabric you choose. Also, this is the same pillow style I used for my bedroom, so this is a very versatile project.
However, before we get started, make sure to launder your fabric to get it prepped for use.
SEWING TIME
Once prepped, you are going to fold in your 36″ edges twice in 1″ intervals as shown below. Then iron down the folds to hold them in place. Lastly, pin and stitch down in a box format.
In the meantime, you are going to create your ties. (see diagram below for details) Fold a short edge down ½” and iron down. Then, fold each long edge in to the center and iron. Last, fold each folded long edge inward to center and iron. Pin to secure and stitch around open edges.
After you’ve created your ties, we are going to attach them to the pillow case. Line the unfinished edge with the bottom of the folded inside edge of the pillow case and pin to secure. Last, do a box stitch to attach them to the pillow case.
Now, all you need to do is fold the bag in half with right sides facing, line up top edges, pin, and sew a ½” seam up the sides as shown.
Likewise, since you know I love rustic farmhouse, I used fabric paint (or acrylic paint with a textile medium added to make it washable), and masking tape to make faux grain sack stripes like I do on my furniture.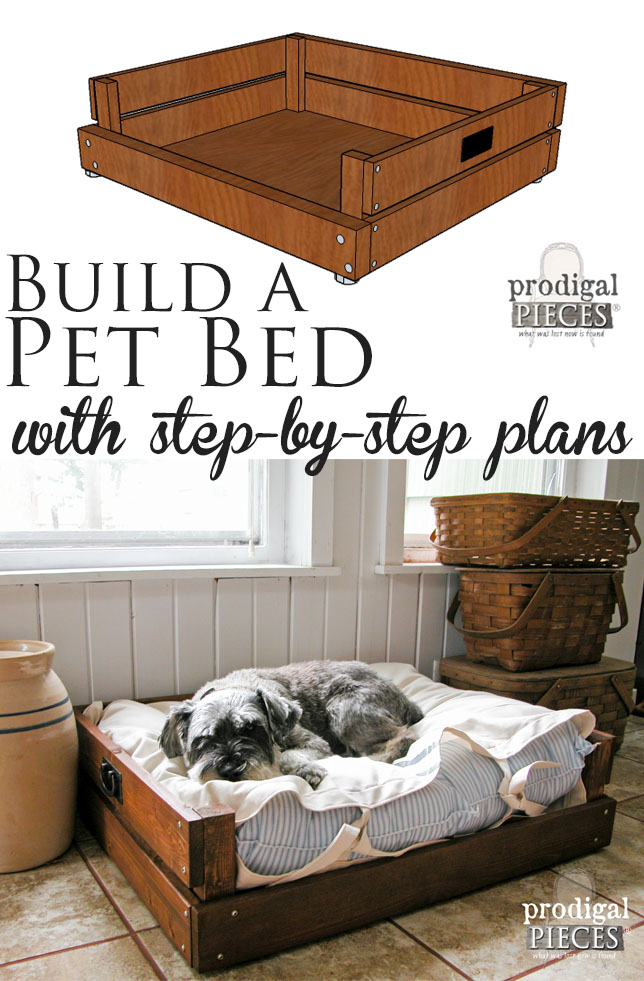
PET BED
Finally, stuff it with the two bed pillows and your pet bed is done!
Not only does Mr. Teddy love his new spot, but also we do too.
As a result, I hope you’ve enjoyed my latest creation. Likewise, I had a blast and am happy to share.
To get these DIY tips & tricks in your inbox, be sure to sign up for my newsletter. PLUS, you will get your FREE Furniture Buying Checklist and special discount to my shop. Until next time!
Also, check out my other projects like my pet bed: